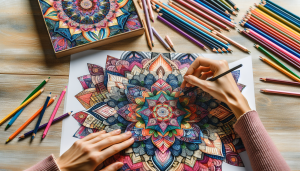
When you dive into the world of adult coloring, one question pops up pretty often: Should you go for colored pencils or markers? Both have their perks, so let's break it down a little.
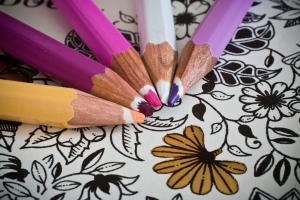
Colored pencils are super versatile. You can layer colors to create depth and add shadows. They’re perfect for fine details, too. If you love taking your time and want to blend colors together, colored pencils are your go-to. Plus, they don’t bleed through the pages, which is a big win if you’re using thicker paper. Just make sure to choose a good quality set for nice, vibrant shades!
On the other hand, markers give you instant vibrancy! With markers, every stroke has that bold pop of color. They’re great for filling in larger areas quickly, and they can be really fun to use. However, keep in mind that some markers can bleed through thinner pages, so always do a test page first. If you’re after smooth, even color, markers might be just what you need.
It really depends on what you want out of your coloring experience. If you enjoy blending and shading, stick with colored pencils. If you’re excited about bright, eye-catching colors and quicker results, grab those markers. Either way, you’ll have a blast! It’s all about what feels right for you.
Exploring Gel Pens for Intricate Designs
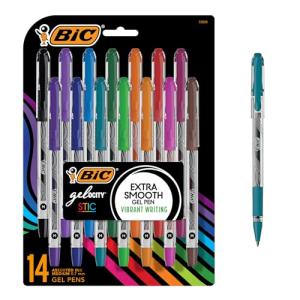
Gel pens are a game-changer for anyone into adult coloring! If you love adding some extra flair to your intricate designs, gel pens are a fantastic choice. They come in a rainbow of colors and often have fun finishes like metallic or glitter. Let’s dive into why they’re a staple for coloring enthusiasts.
First off, the flow of gel pens is smooth and consistent. You won’t have to deal with skipping or blobs of ink ruining your artwork. Just pick up a pen and start coloring—it's that easy. These pens glide effortlessly, making it a breeze to fill in tiny details without frustration.
Another thing to love about gel pens is their vibrant pigment. Whether you're coloring a mandala or a whimsical landscape, the colors pop off the page. Plus, many gel pens are designed to dry quickly, which means less waiting around and more time to unleash your creativity.
When shopping for gel pens, look for sets that offer a variety of colors and styles. Some packs even include glitter or neon pens, which can add a cool twist to your designs. A good variety lets you play with different effects and keep your coloring fresh and exciting.
So, if you want to take your coloring to the next level, grab some gel pens. With their smooth application and bold colors, you'll be turning your coloring pages into masterpieces in no time!
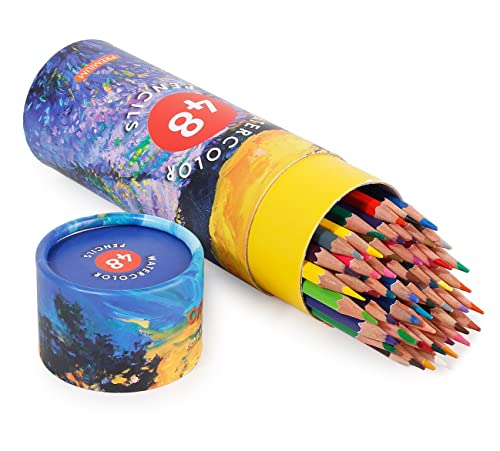
Watercolor Options for Vibrant Art
Watercolor options can really bring your coloring pages to life. If you love vibrant colors and the magic of blending, watercolors might just be your jam. They’re super versatile and can create everything from soft washes to bold highlights, depending on how you use them. Plus, they’re easy to clean up, so you don’t have to stress about spills.
There are a few types of watercolors to choose from. You can go with traditional watercolor paints, which come in tubes or pans. The tube paints are great if you like to work with lots of color and need a bit more pigment. Pans, on the other hand, are perfect for portability. Just throw a palette in your bag, and you're ready to color anywhere.
If you're looking for something even simpler, watercolor markers can be a fun choice. They’re like regular markers but with a twist. Use the marker directly on your page, and then blend it out with a wet brush for that gorgeous watercolor effect. It’s a low-mess option that’s perfect for beginners.
Don’t forget to grab some good watercolor paper too! Regular coloring book pages might not hold up well to water. Look for thicker paper specifically made for watercolors to avoid buckling. This way, you can lay down those vibrant colors worry-free!
Trying Out Pastels for Soft Effects
If you’re looking to add some soft effects to your coloring pages, pastels might just be your new best friend. These sticks of vibrant color blend beautifully and can create stunning, dreamy looks. What’s great about pastels is they’re super versatile. You can use them for bold, intense colors or go all out with soft, subtle shades.
When you start with pastels, just a little goes a long way. You’ll want to experiment with light strokes first to get a feel for how they lay down color. You can build up layers gradually, switching between techniques like smudging and blending. Keep a few blending tools handy—like your fingers or a blending stump—to get those smooth transitions between colors.
One tip is to work from light to dark. Start with your lighter shades, then add in darker tones wherever you want more depth. This method really makes those details pop! Don’t worry if your workspace gets a little messy; that’s all part of the fun. Just make sure to keep your pastels stored properly to avoid breakage, and you’re good to go.
Don’t forget to seal your artwork once you’re done. A light spray of fixative can keep everything intact and vibrant for years to come. Plus, it helps prevent smudging, so you can show off your masterpiece without worry. Give pastels a try! You might fall in love with their softness and the lovely effects you can create.